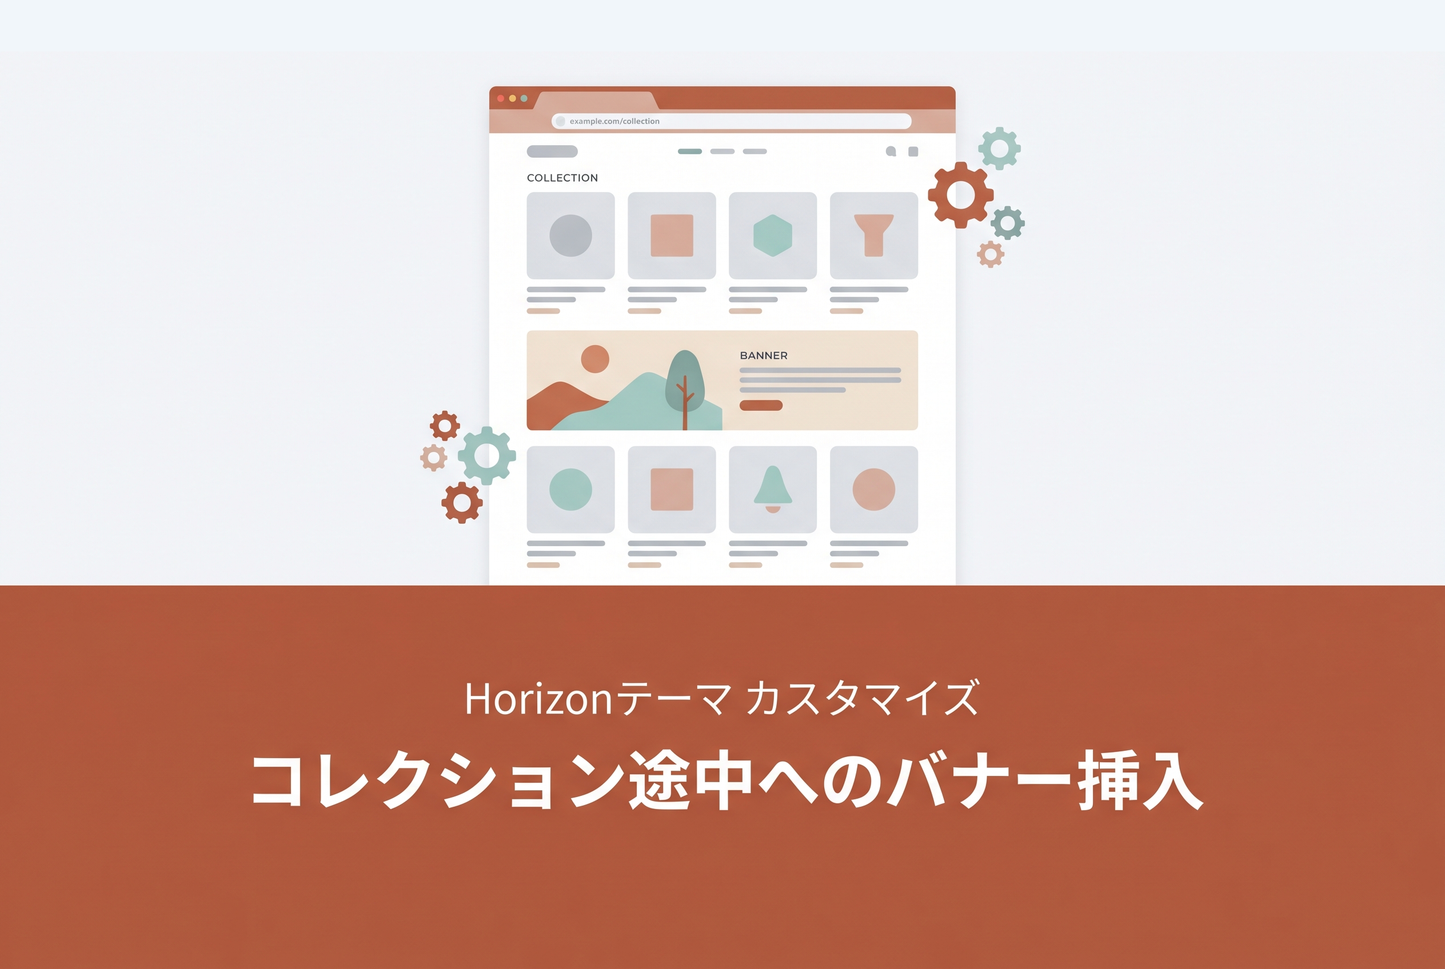
An example implementation of a custom section that inserts a full-width banner image within the product grid on a Horizon theme collection page. Works with both paginator and infinite scroll — banners loop automatically as pages change.


Settings
Banner Position
Use the "Insertion position (after item N)" setting in the theme editor to specify which product the banner appears after. For example, setting it to "8" places the banner immediately after the 8th product at full width.
Since the position is counted by product number within the page, you'll want to coordinate it with the grid column count (which varies by screen width). With a 4-column grid and position set to "8", the banner appears between rows 2 and 3.
Horizon's default grid is 4 columns, but it automatically adjusts to 3 or 5 columns depending on the screen width. If the insertion position is not a multiple of the active column count, the banner may appear mid-row. To align cleanly at a row break across all screen widths, choose a number that is a common factor of 3, 4, and 5 — for example, 4, 5, 6, 12, 15, or 20.
Per-page Banner Loop
Up to 3 banner images can be configured. The display loops automatically based on how many are set.
1 image — same banner repeats on every page
2 images — P1→[A] P2→[B] P3→[A] P4→[B]…
3 images — P1→[A] P2→[B] P3→[C] P4→[A]…
PC / Mobile Image Switching
Each banner supports separate PC and mobile images (mobile applies at 749px and below). If no mobile image is set, the PC image is used on all devices.
Implementation
1. Create sections/custom-main-collection.liquid
Copy Horizon's main-collection.liquid and save it as sections/custom-main-collection.liquid. Add the following code.


2. Create the collection template
Create a new collection template from the theme editor and change the main section reference to custom-main-collection. Then assign this template to the target collection from the Shopify admin.


3. Assign the template to the target collection
Open the collection edit page in Shopify Admin, select the template you created from "Theme template" on the right side, and save.